Tuesday, March 27, 2012

Winner of MDC's birthday giveaway

Folks,

My last post was about MDC's birthday giveaway.

I have never won anything like this.  No lucky drawing or give away.  I am so thrilled to be the winner of MDC"s birthday giveaway.

This couldn't have come at a better time.  Work has been keeping me super busy thus making me a bit grouchy.
Yey! I won something.

Anu,  I have been following your blog for over an year.  Love the stuff you find for your store as well.
I wish you success in all your endeavors.

Now for some eye candy for you.

This past Friday's find.  If you follow me on pinterest, I posted about a block print mug set.

Yes folks, I now own it.
Aren't they cute?

Have a wonderful rest of the weeks folks.


Sunday, March 11, 2012

Happy Birthday MDC

Anu of My Dream Canvas is celebrating third birthday of her blog.  I discovered this blog more than a year or so ago.  I am always amazed by the beautiful things this blog brings to us reader.  She is giving away this this beautiful carved box.

I hope I do win.  Please do try your luck as well.  Here are the ways you can enter.

The First entry:

If you like what you see, follow my blog and leave me a comment. If you are already a follower, just leave a comment. If you don't have a blog, please leave your email address.

Second Entry:

Follow my Dream Canvas on Facebook!

Third Entry:

Announce this giveaway on your blog and let me know.

Fourth Entry:

Tweet about this giveaway and let me know.

Good luck you all.

Wednesday, March 7, 2012

Happy International Women's day


Hi there,

I would like to first apologize for disappearing on you all.  I have been sporadically visiting your blogs but never had to time to post here as work, kids and out of town guests have kept me very busy. 

Spare time I am left, I try and attend to my garden and some times I feel they are crying for my attention.  Hopefully in two weeks I will have more spare time on had and I can get back to some of the craft stuff I have neglected for a long time.


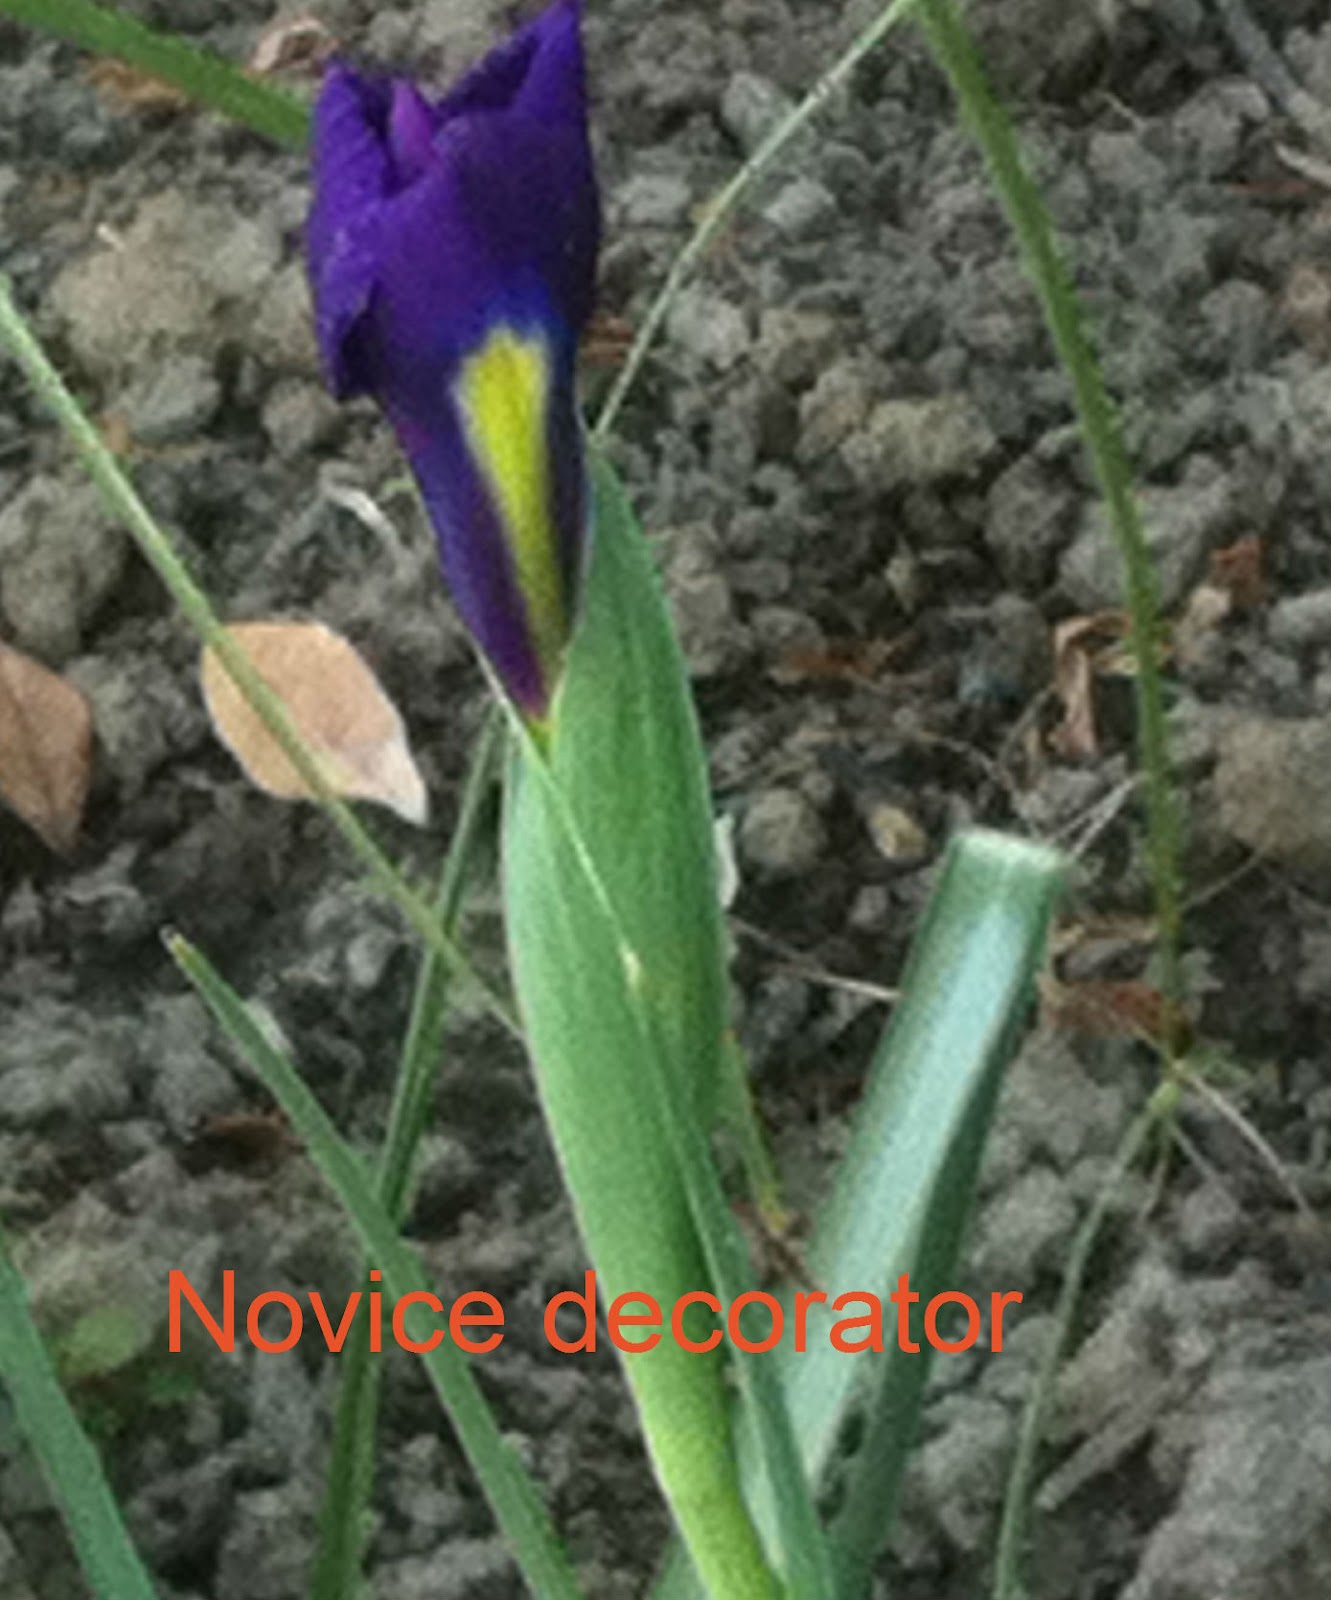
Couple of months ago I had planted a bunch of iris, Tulips etc.  My first of the iris have started blooming.  I love the color.
Here are some of the pictures I took this past weekend.  I have a feeling this spring my yard will look beautiful.
and this is will be ready this weekend.
Wishing you all a wonderful week.

Monday, January 30, 2012

Wishing you all a good week

Some weekends I get so busy, weekdays look like they were stress free.  It feels like all the events are happening at once during one weekend.  Sigh!!!  This past weekend was one such.  Though we had fun, there was no time to relax.  I am sure you all have had such weekends.

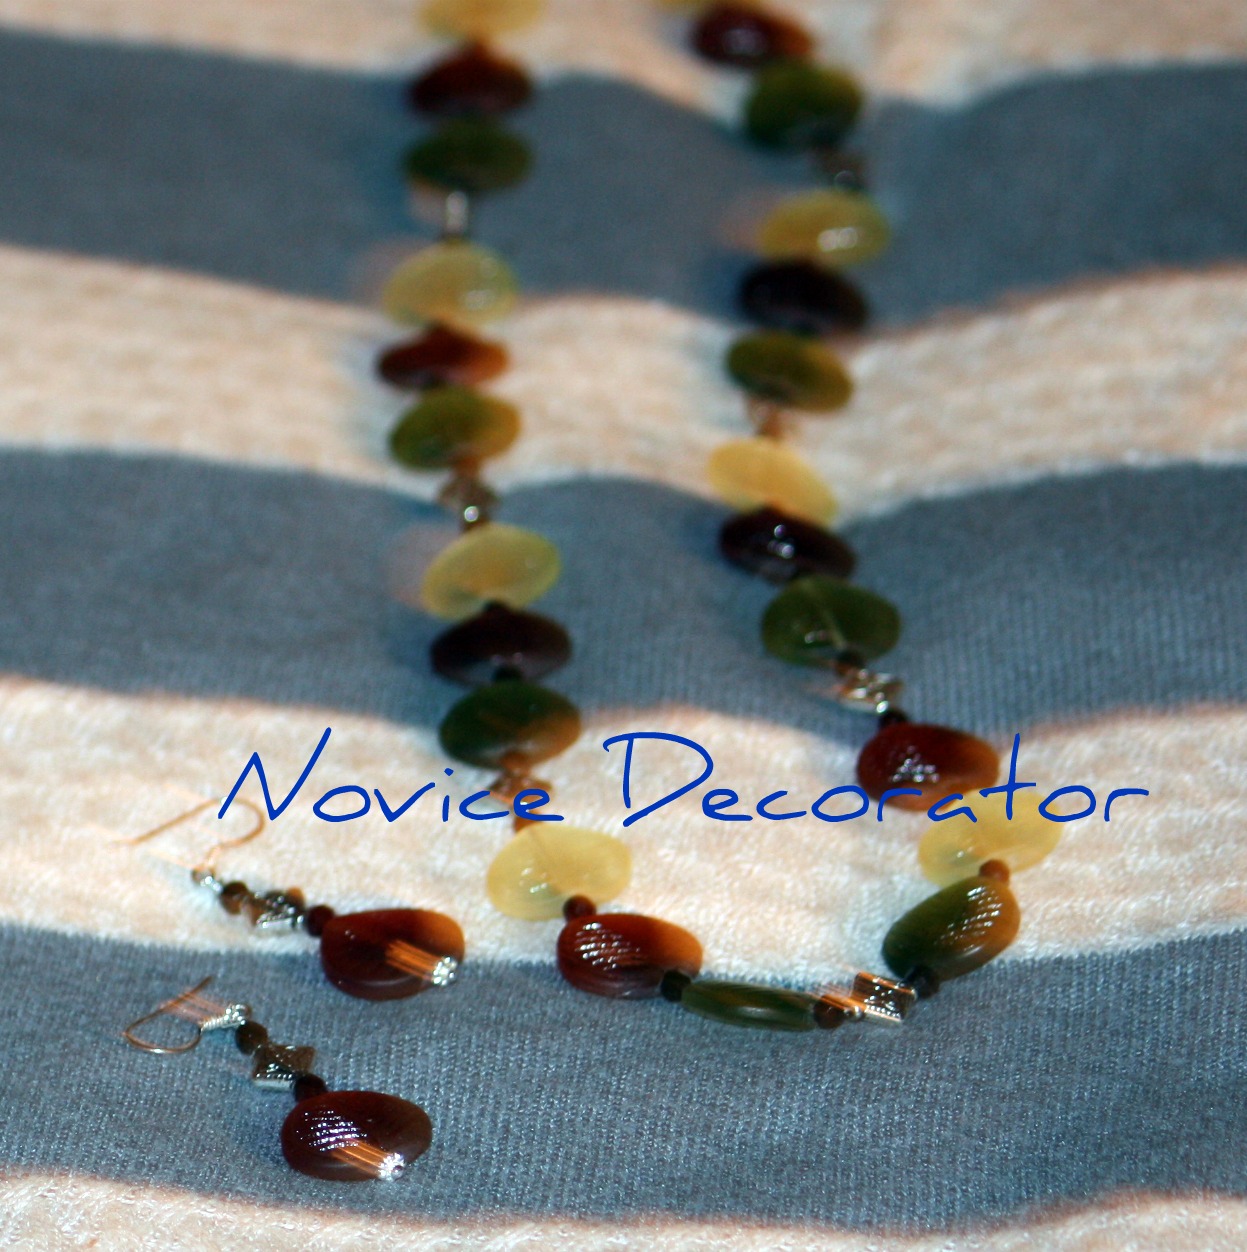
I made this few weeks ago but I forgot to post it.


Hope this week will be peaceful and joyous to you all.
Linking this to

Friday, January 20, 2012

Guest post - DIY treat bags


For Makara Shankranti festival, in certain regions of Karnataka, families exchange mixture of Ellu (white sesame seeds) Bella (Jaggery) which is mixed with peanuts, neatly cut dry coconut along with sugar candy molds of various shapes with a piece of sugarcane.  It is for renewal of relationships.  We normally pack the mixture in a plastic bag with the sugar candy.

This year my SIL R decided to make fancy goodie bag to pack this.  Her goal was for it to be plastic free.
They were so beautiful, hence this post.  Here it is.


Materials required:
  1. Paper-co​uld be a decorative gift wrapping paper,hand made paper,news​paper/ maga​zine(-to recycle is good ). Here I've used handmade paper of 0.5mm thickness.
  2. Scissors​,a paper punch,rule​r,glue and a decorative ribbon.
  3. Stickers​,glitter glue, etc., can also be used.
Cut the paper for 21.5cms length and 15cms breadth.Ma​ke markings at 5,10,15,20 and score the paper.Simi​larly, score the paper at 5cms on the 15 cm side.  You will see four rectangles of 10x5 cm and 4 squares of 5 cm and, a small rectangle of 10x1.5cm and another rectangle of 5 x 1.5cm (lo​wer right corner of the image).  After the cut, your paper must look like this.
Please ignore the first horizontal score in the picture.It is not necessary.
Glue the 'x' marked squares- the 2nd, 3rd and the 4th squares
Next step
The small rectangular flap of 10x1.5 cm should go on the inside of the box. It must be glued to the inner side of the first rectangle. Tap the inside of the paper with a ruler so that the base and the sides are glued properly.O​r else, the box could come apart. Trim the excess paper off the edges.
Push two opposite sides towards each other gently and press together the other two sides. Punch two holes on each side of the box such that the holes are aligned.

Now on to decorating the bag.

Take a piece of coloured paper about 2cms wide and 8cms long.Fold it into half and make cuts through the paper as shown. open the fold and glue the paper on the inside.  Fol​d the paper and glue the paper on one side.  Roll the paper into a flower as shown. Glue the base and the outer petals of the flower.
Stick the flower on the bag and flatten the outer petals such that they stick to the surface.   Needle the decorative tape through the holes with both free ends of the tape on one side.

Tie the ribbon and decorate the the goody bag with glitters and stickers.  You may try out different sizes and versions of the same.  Before starting off, make a prototype of the bag with a newspaper or a magazine so that you will know what changes can be made.  These bags are plastic free and look pretty.

Linked it here.
Friday Fun Party & Features
Colours Dekor
Joyful Stamper